How to set up a Voiceover Home Studio
Why do I need a home voiceover studio?
Home Studios has made recording voiceovers much more accessible to everyone involved in the voiceover process. As a voiceover artist, you don’t need to live in a major city anymore to easily commute to and from a studio. We now have the pleasure of being able to record all of our work remotely (and in our pyjamas if we want to)!
Clients can save money by not having to hire a central location studio. It’s a win-win for both parties. However, your home studio must produce broadcast-quality sound. Anyone can make a home studio and it can also be done on a budget, but it’s important to follow these simple steps to ensure that you’ve built a professional-sounding voiceover home studio.

My first home studio was a built-in cupboard in my bedroom. In my early 20s, the confinedness of the space didn’t bother me. There wasn’t room for a chair, so I had to stand to do my voiceovers (not so great if you’re having to record an audiobook where you’re having to record for hours and days at a time!). Now that I’m in my early 30s, I want to prioritise comfort. I now have a much larger freestanding booth that fits a chair in quite comfortably and even has room for me to move my arms around and gesticulate if I want to!
How my voiceover booth is constructed…
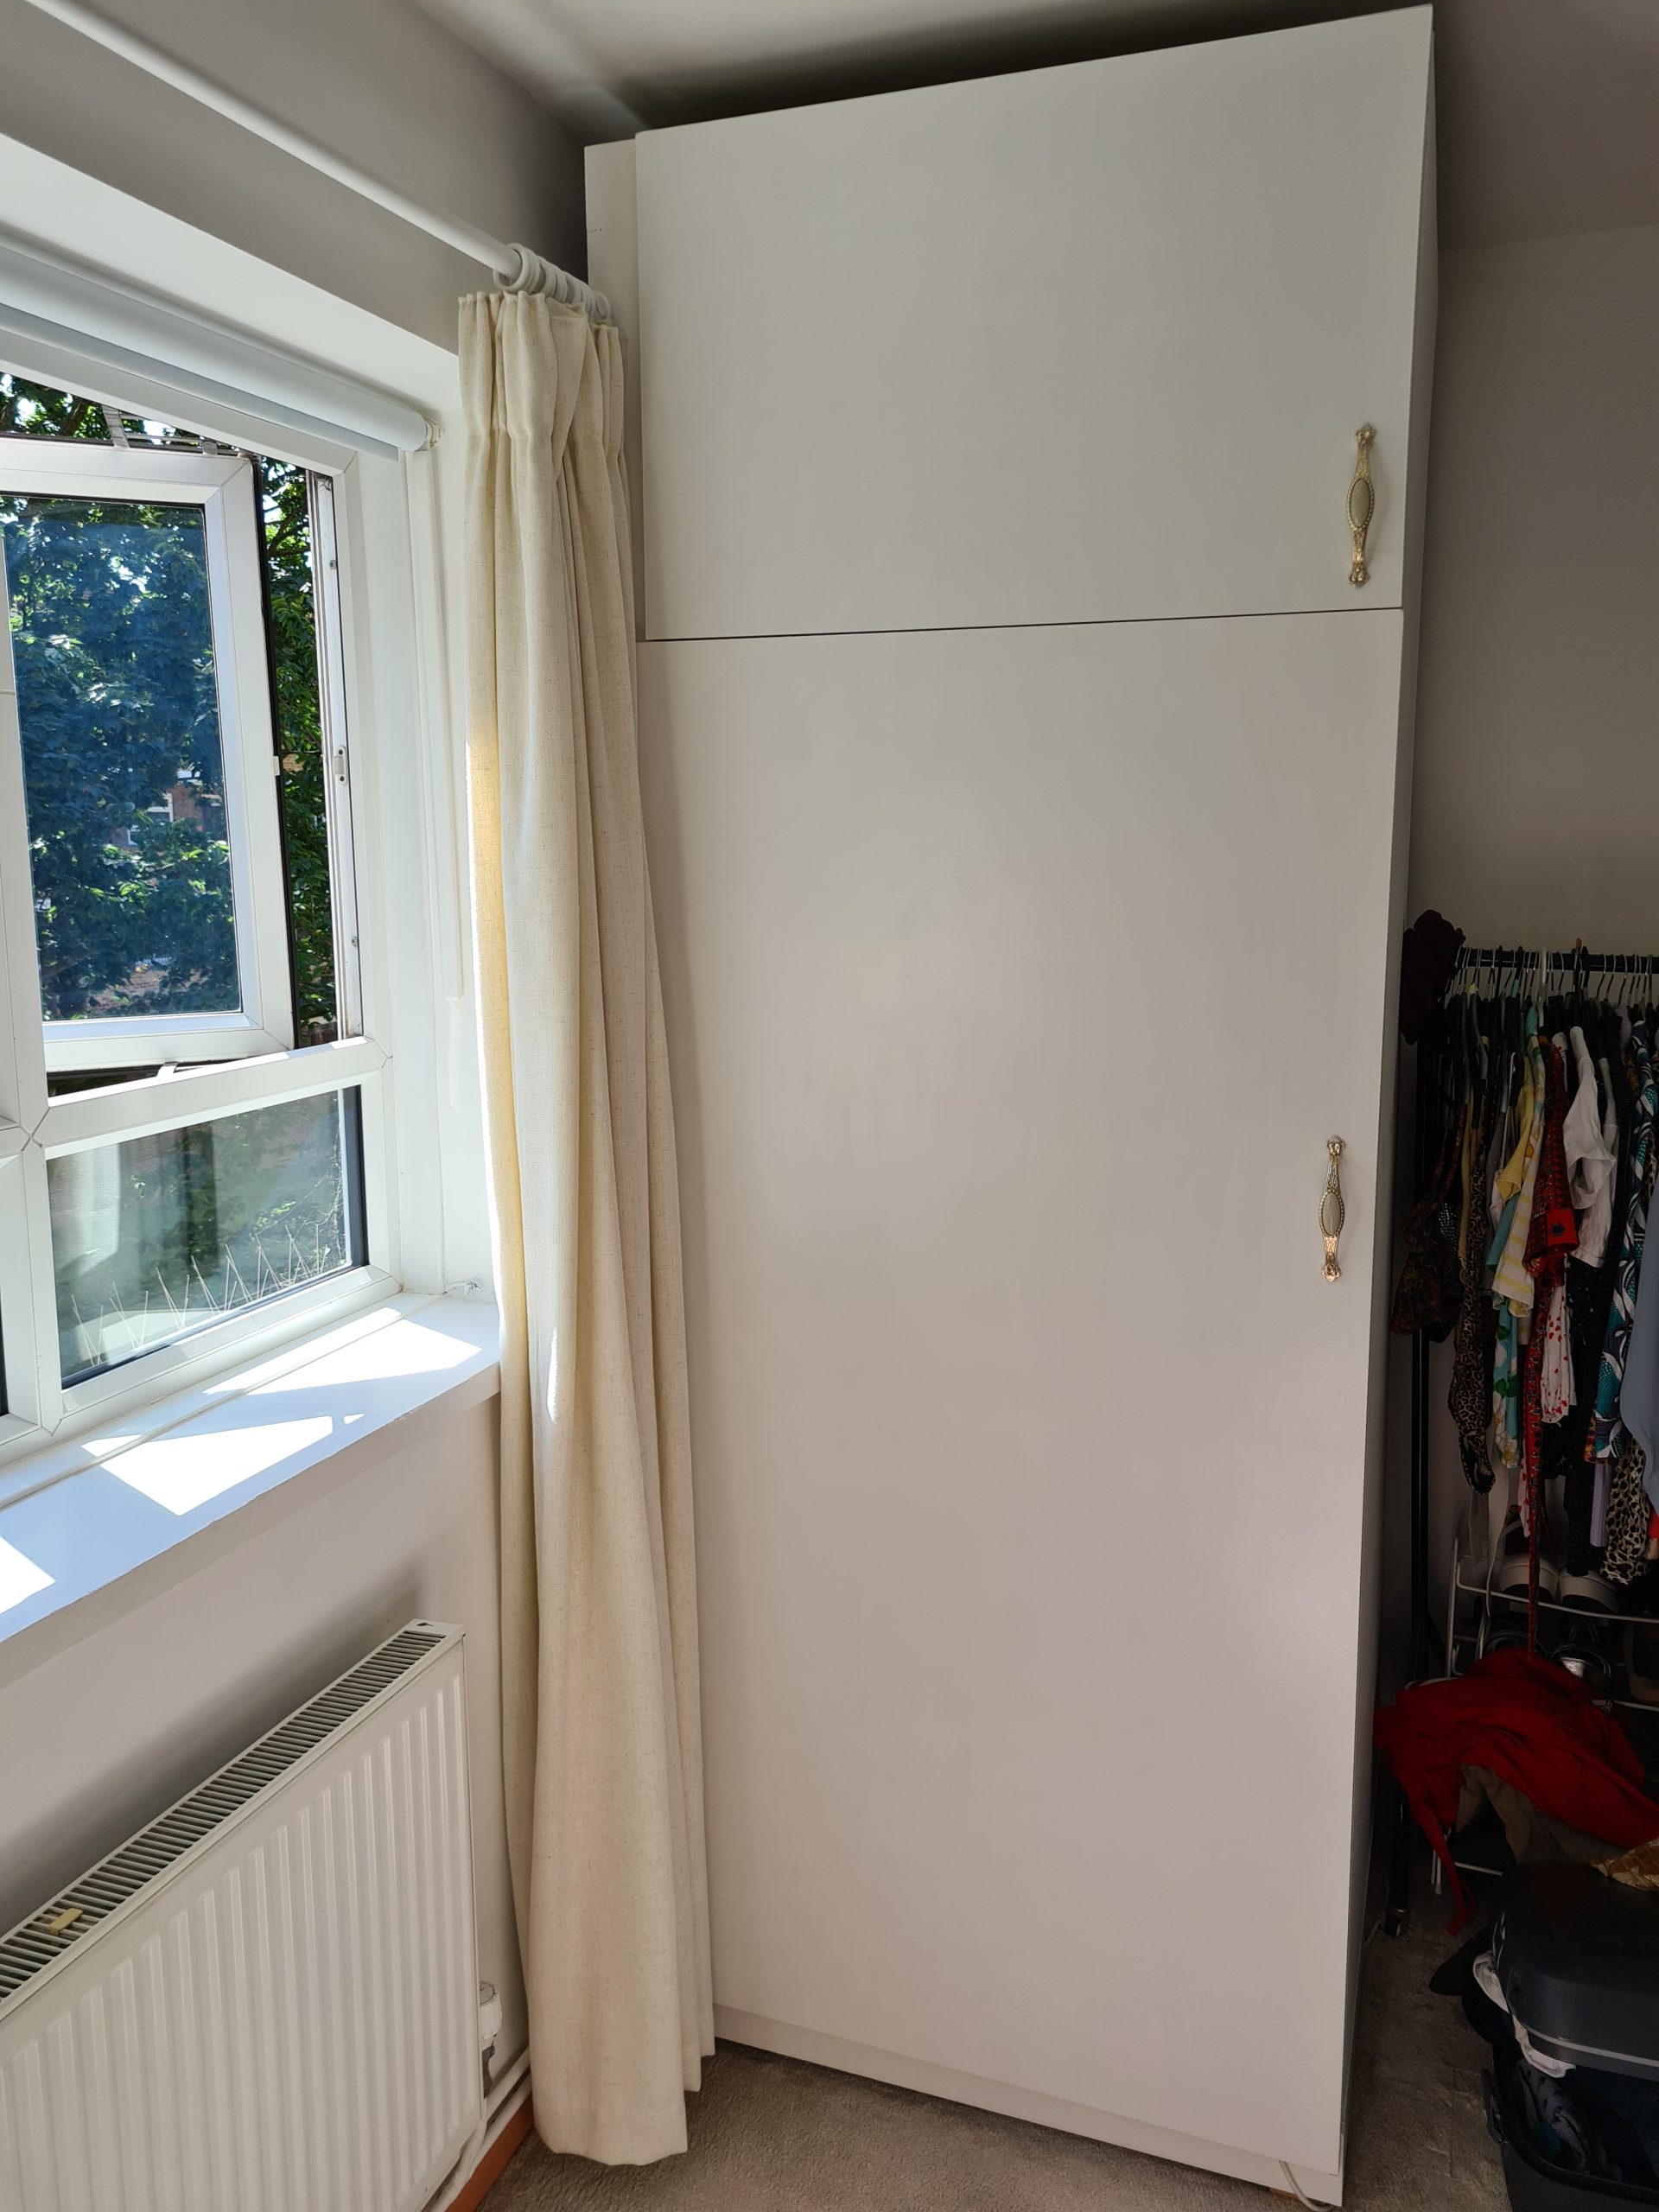
I paid a carpenter to build my freestanding booth from scratch, as I couldn’t afford an acoustically treated freestanding booth or have the space for one (they can take up quite a large part of a room, which is something to bear in mind if you don’t have much space).
He designed it to my comfort and height. He built the frame using MDF and soundproof plasterboard. The frame has two layers so that sound proofing (rock wool/fibreglass) could be stuffed in between the MDF and plasterboard. It is freestanding to prevent vibrations coming into the mic from outside sources i.e. a double-decker bus going by or neighbours playing music.
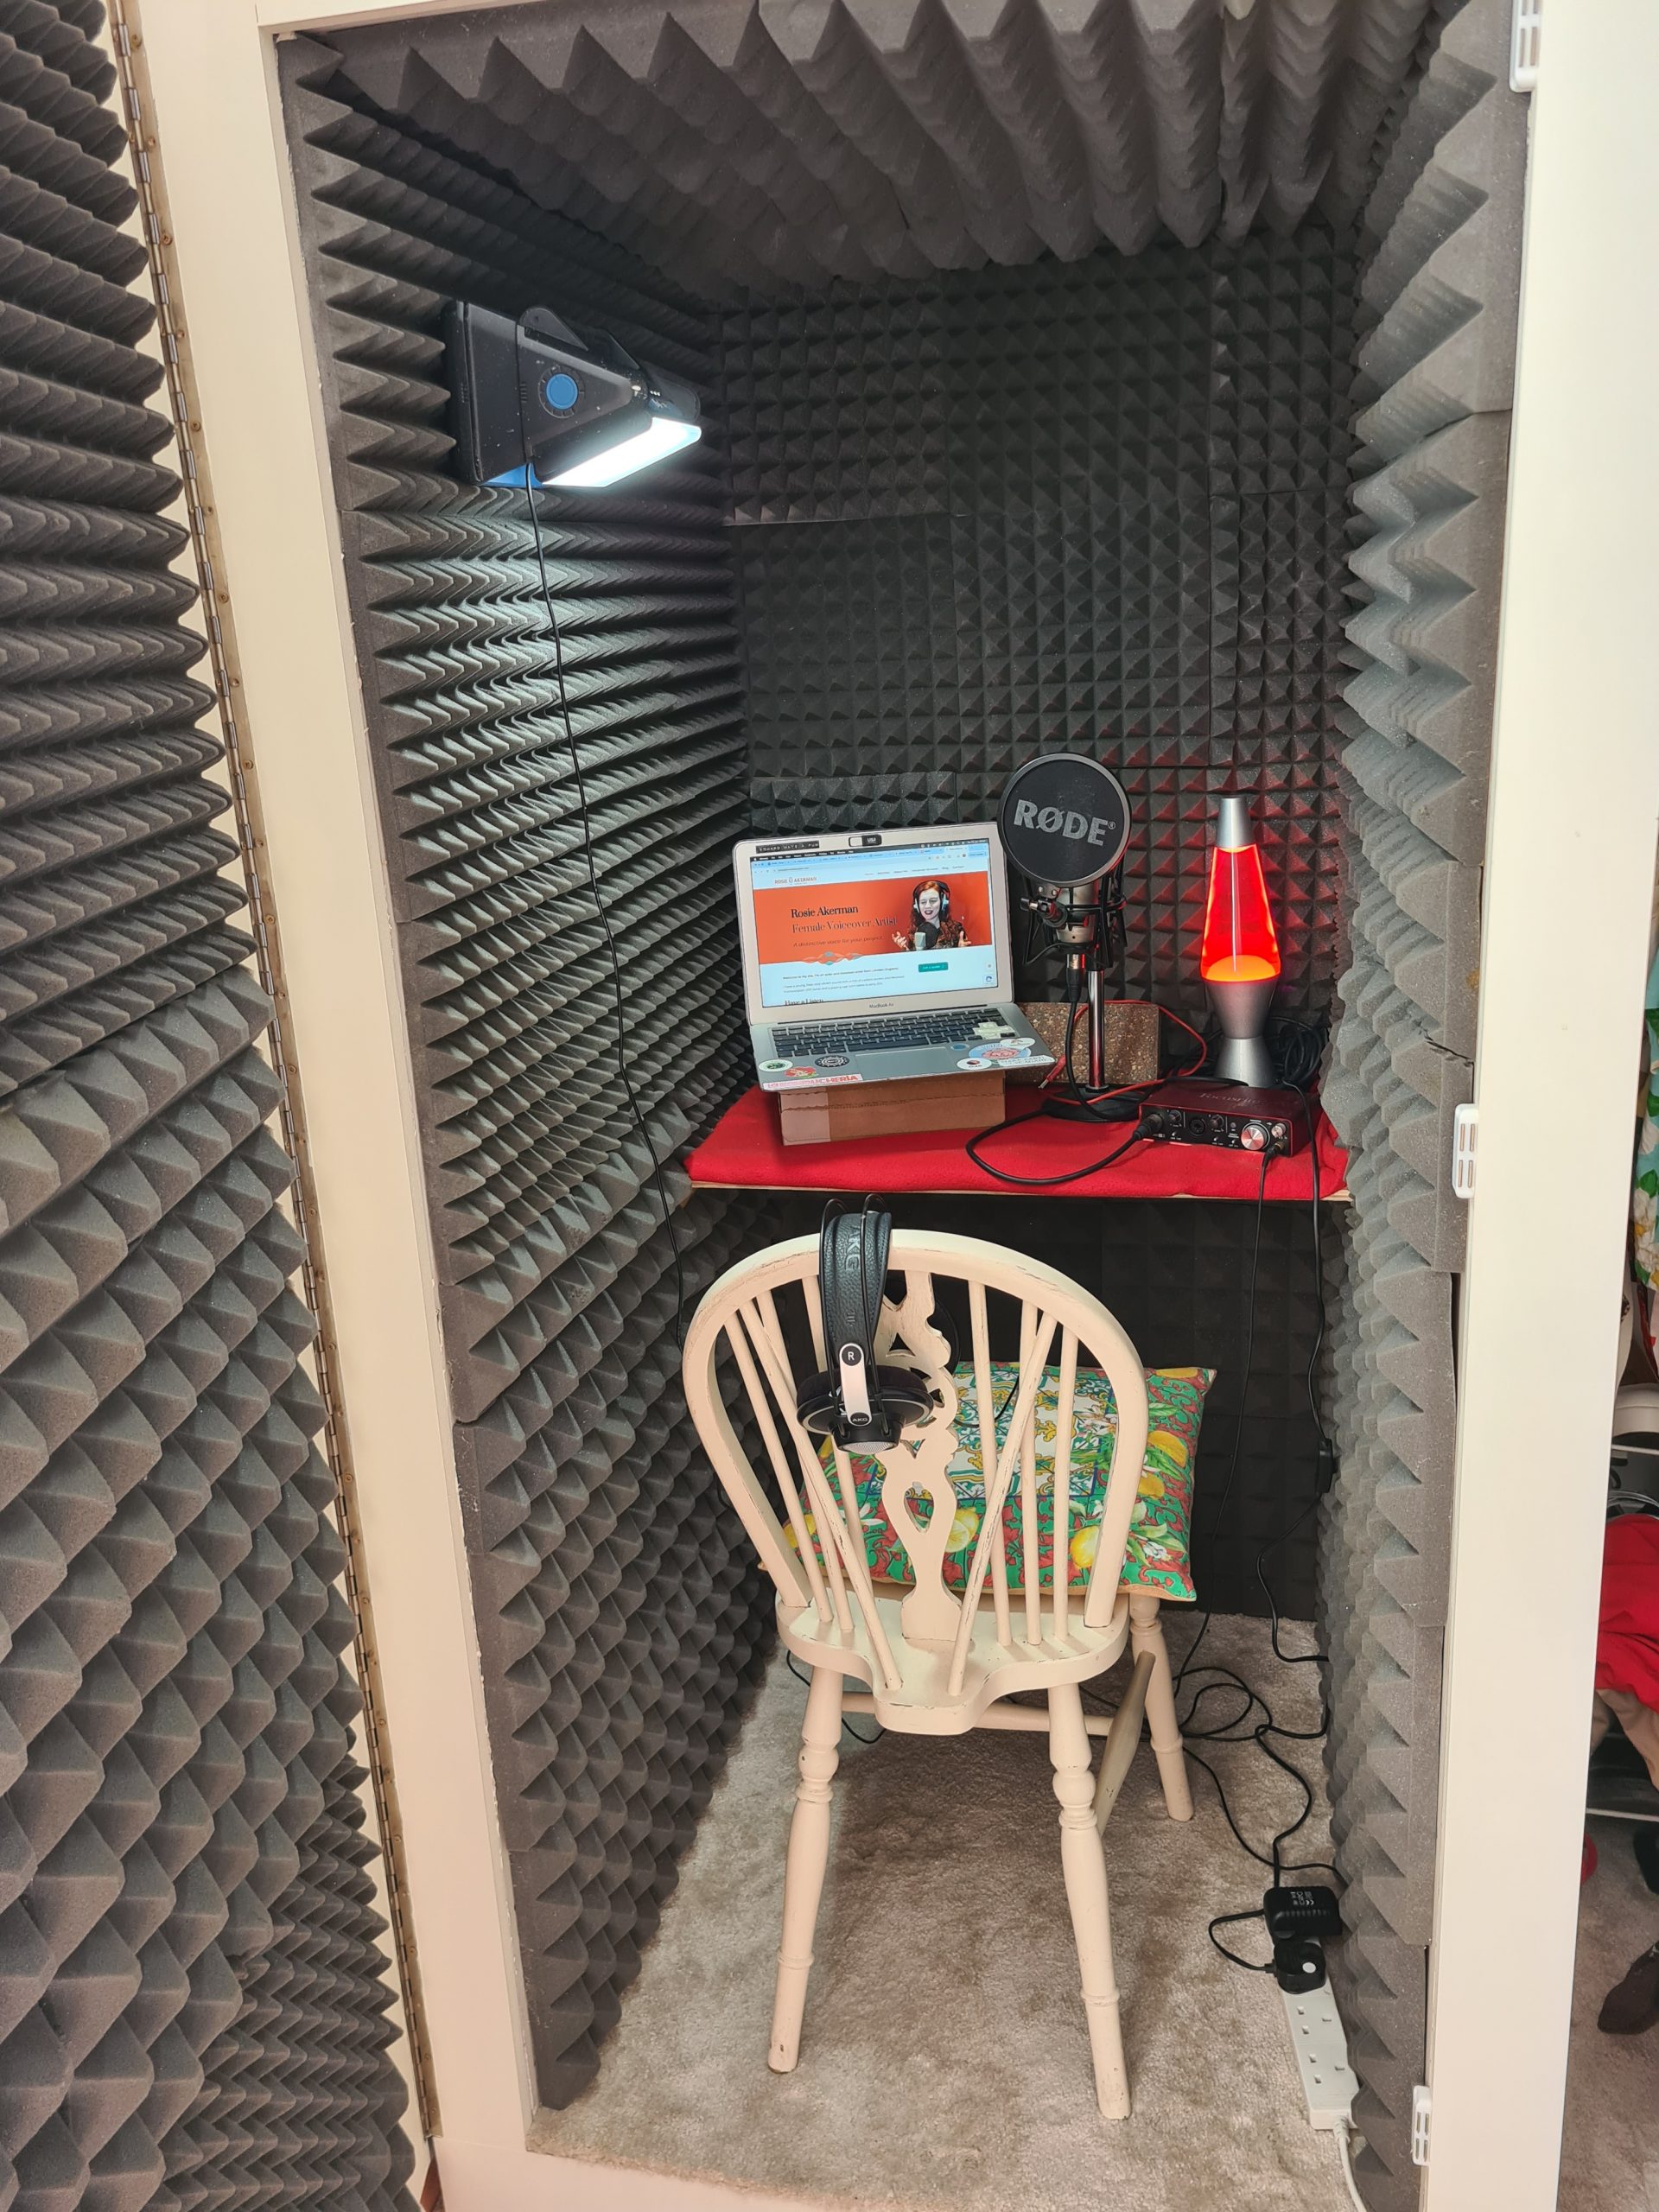
I lined the inside of the booth with soundproofing foam tiles. I carpeted the floor inside using some offcuts from when I had my carpet laid and I covered the desk with a blanket to ensure that there were no hard surfaces that the sound could bounce off.
The materials and labour cost me about £1000. But this is my second booth. For my first home studio (the in-built cupboard), all I did for that was buy some soundproof foam tiles, which cost about £100. I have had the same microphone and interface since then. I have a Rode N1TA Microphone and a Focusrite Scarlett 2i2 interface. I use Adobe Audition software now, but in the past when I was first starting out, I used Audacity, which you can download for free here.
What do I need for a home voiceover studio?
Your home studio does not have to be fancy. The main components are a decent microphone and a sound-treated area.
The basics you will need are:
- A microphone
- A microphone stand/holder
- An interface that plugs into your laptop
- A laptop/computer
- Audio recording software (of which there are many free and paid ones)
- Soundproofing tiles/heavy-duty cloth (optional)
- A stand to lay your script on (optional)
I know VO artists who have gone the full hog and spent upwards of £3000 on a freestanding acoustic booth and upwards of £2000 on equipment, but I also know vo artists who have spent less than £1000 on their booth and equipment combined. Both sets of people book consistent work using their home studios and I don’t feel one is any better than the other. It’s about comfort as much as anything else.
I know people who have made home studios using the cupboard under their stairs, however, this option may not be physically comfortable for some VO artists.
Troubleshooting
A reason some people may prefer to splash out on a freestanding acoustic booth is that it protects from any sound leaking into your mic from outside sources. The booths are 100% sound proof. If you have noisy neighbours or live near a main road, then this option will be perfect for you. If you can’t afford to do this, then unfortunately you may have to record around these disturbances. In the past, I’ve sometimes had to pause my recording if a neighbour is being particularly noisy, i.e. having building carried out.
It is important to consider what exterior noises may be present when building your studio.
A VO friend of mine bought a house and was so excited to set up her home studio in her spare room. However, she was heartbroken to discover that the pedestrian crossing that was just across the street, made a beeping noise every time someone pushed the button when they wanted to cross the road. She now has to record at certain times of the day to avoid when the beeping occurs most. Not ideal!
If you live with other people, you may have to work around that as well, because sometimes the vibrations of people simply walking around your house may feed into the microphone.

Lastly…
If you still feel like you need some assistance in getting your home studio set up, then YouTube is a great source for research! There are lots of videos on there where voiceover artists have produced step-by-step guides on how they constructed their home studios. I watched a lot of these videos before I set up my first home studio.
Once you are up and running, it may be worth recording a few lines of dialogue and sending the raw recording to a sound engineer and asking them if the sound is good enough or not. If it’s not sounding quite right, then they will be able to tell you exactly what it is that needs tweaking.
I have worked hard to get my small but mighty home studio up to industry standard and can make recordings of almost any kind. If you would like a demo, please contact me. I would love to work with you.


